Since the procedure for creating a new item will probably come up more often during your company operations, much attention was given to accomplish this quickly and easily during the development of Ingenious.V12. To create a new item in Ingenious.V12 is not difficult, but one should think about the respective item before starting this. For example, one should think about which description the item should receive, with which pricing method it should be calculated, what the SP and PP price ratio is, etc.
The Matchcode
The description (the matchcode) of the item must always be clear and non-exchangeable, even if you have thousands of items in your database. This also applies to individual variations (for instance in the color and the material) of the item. For example, even if an item from two suppliers is ordered, the matchcode must provide information about it. That means that the item has to exist twice: once from supplier A and once from supplier B. From the beginning, you should define a certain system of assigning matchcodes. Otherwise the danger exists that your problems with the name assignment will constantly rise with the increase of the number of items in your database. A matchcode in Ingenious.V12 can consist of 1 to 50 symbols. Numbers and special characters such as: # / ; : , . - _ are permitted..
The Price Types
In Ingenious.V12, the following price types are available to you:
Unit price The item price is calculated according to piece
Scaled price Unit price, but quantity-dependent
m-Price Price per meter
sqm-Price Unit price varies according to the length of the item
Cubic meter price Price per cubic meter
m-Scaled price Price per square meter
x/y-Scaled price Price per piece varies according to the measurements (i.e. width and height)
The price descriptions
You can provide three different prices per item.
PP Purchase Price
SP 1 Normal selling price or unit price (if the item is used in a parts list)
SP 2 Alternative selling price, one from SP 1 deviating selling price, i.e. for specific contact groups that are optionally applicable.
The price ratio
With the calculation of your PP/SP price ratios, Ingenious.V12 leaves all possibilities open to you:
USD/USD Purchase price and selling price of the piece items are known.
USD% Purchase price of the piece items is known and the SP will be calculated over a percentage premium.
%/USD Selling price of the piece item is known. The PP is entered as a discount.
USD/min This item covers only work time. With this price ratio, only the selling price must be registered. It displays a number of minutes (i.e..: 60 for 1 hr.). The PP optional and should only be entered if an amount per hour that deviates from the normal hourly rate, is to be calculated.
Practice creating an item
1. In the icon bar of the module window, press the ![]() button to create a new item or you can go to the menu, “item” and confirm the item type there (item, m-item, sqm.-item or a two-dimensional price list).
button to create a new item or you can go to the menu, “item” and confirm the item type there (item, m-item, sqm.-item or a two-dimensional price list).
2. In the following window, select the item type. Here you have the choice between the price types already known by you:
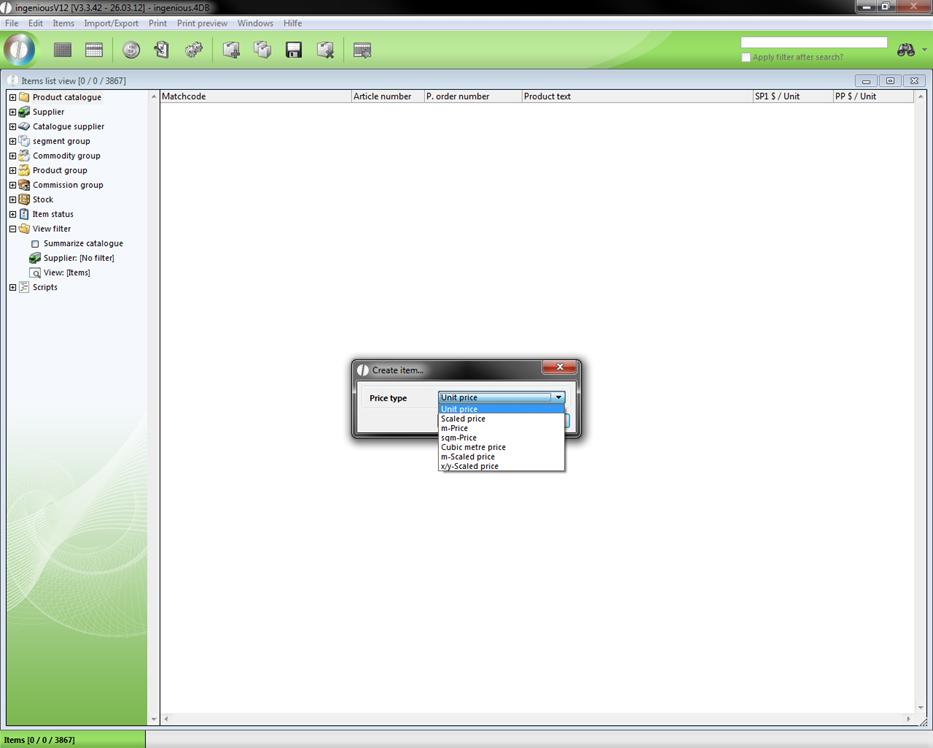
3. Select Unit price and confirm your selection with “OK”.
The module window changes in the detail view of the created item.
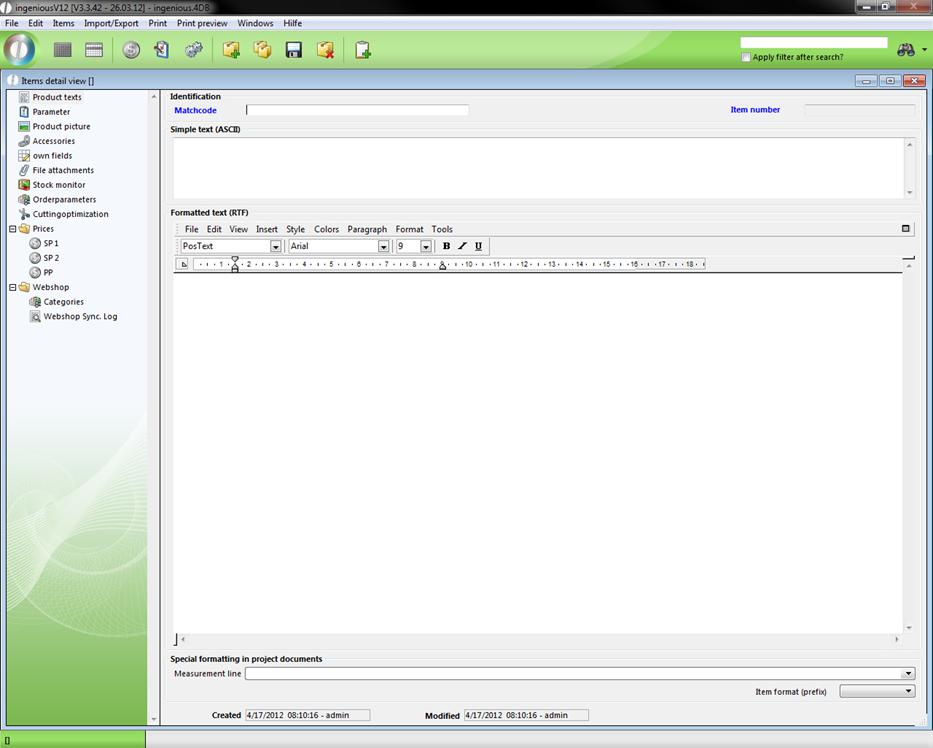
Blank detail view of a record
In this view, all item data are arranged. First give the item a matchcode. This matchcode is to the product as the fingerprint is to a person. It clearly identifies the product.
4. In the matchcode field, write “1 Channel Remote Wall Mount Transmitter, cream” and enter “100100-10” in the field.
5. Next, briefly describe the product, “1 Channel Remote Wall Mount Transmitter - cream” in the field “Simple text (ASCII)”.
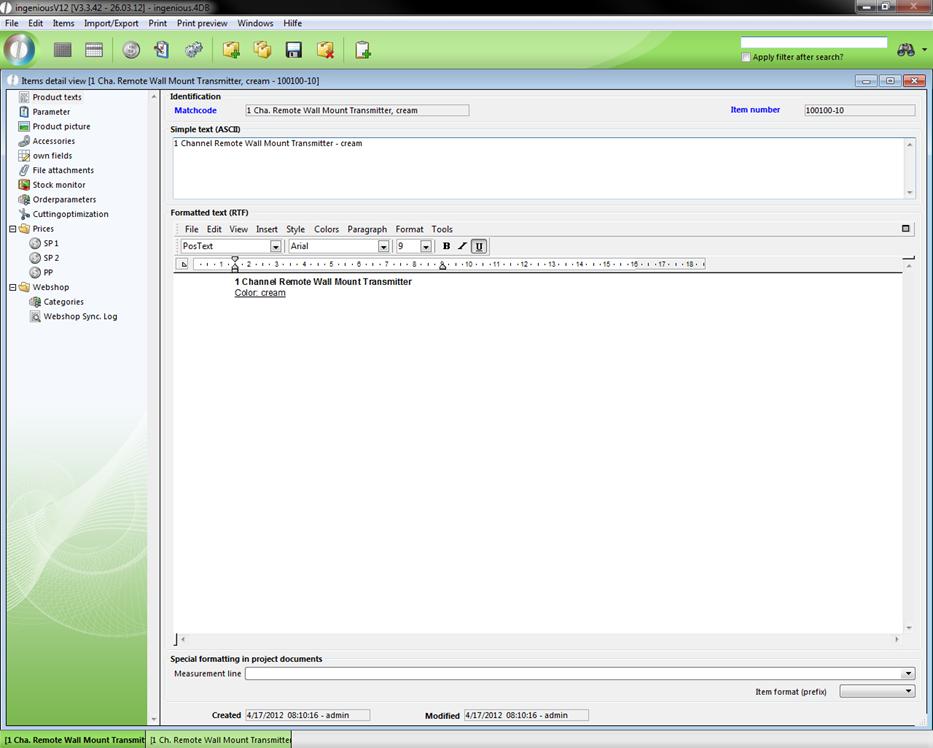
In the area, “Formatted text (RTF)”, you have the possibility of adding formatted texts and even pictures to the item with the help of the integrated text processing. In this way you can include a complete item or product description in the respective file.
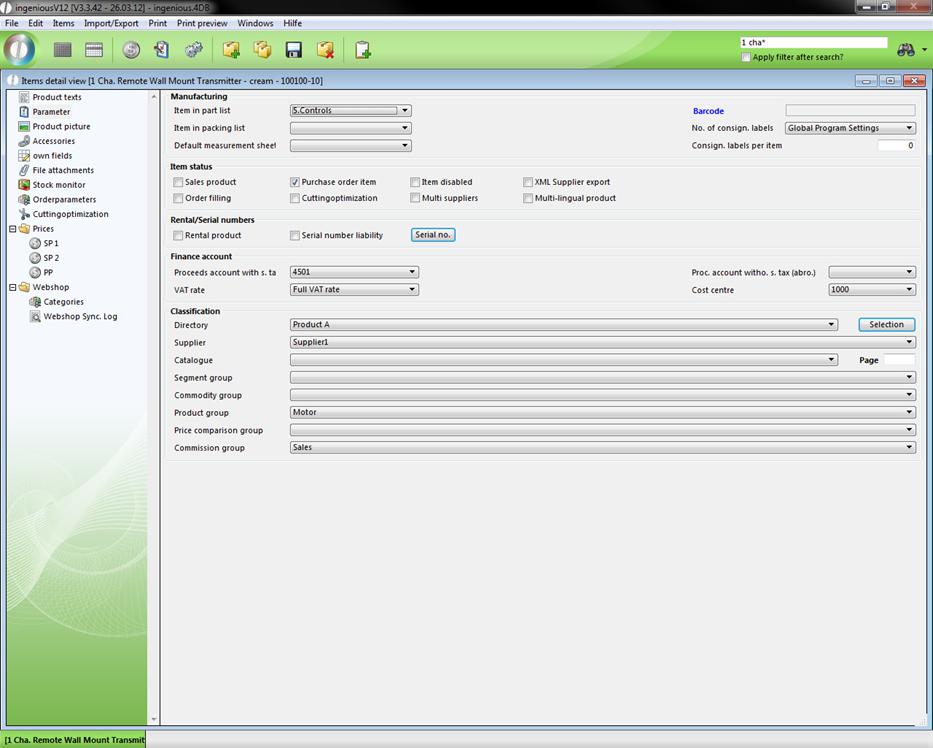
6. In the data selection area, change to the “Parameter” column.
In this column, the areas, “Manufacturing”, “item Status”, “Renting/Serial Number”, “Finance Account” and “Classification” are included.
7. From the pop-up menu, select “Position in the part list” and select the option, “5.Controls”.
8. In the item status area, remove the check mark from the field, “Sales product”.
Since the end rod used in this item shows only a part of the complete shutter and not a single sales product, a check is not placed next to “Sales Product”. This means that the item is represented later in the list view in grey instead of black, since it is not a sales product.
9. In the area, “Finance account”, select the accounts, “1000” and the FIBU revenue account with USt, “4501”.
Note: As with all other pop-up fields in Ingenious.V12, these must also be adapted particularly to your enterprise. You have the possibility to do this in the program settings.
10. In the area, “Classification”, select the options shown in the illustration below as an example.
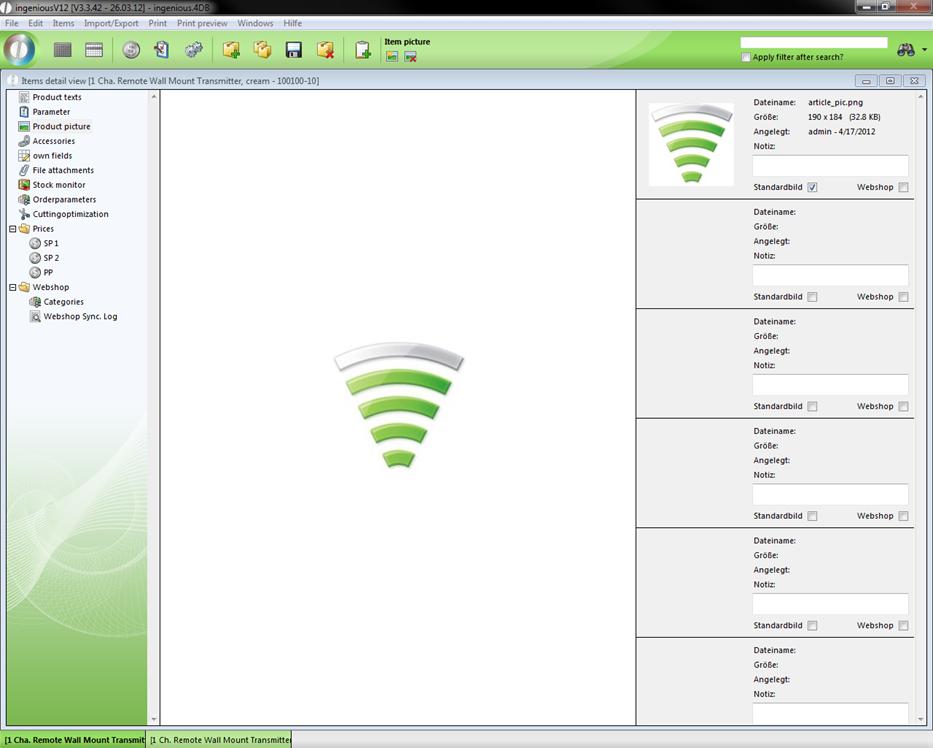
11. Now select the column, “Product picture” in the data selection area in order to add your end rod.
12. In order to do this, simply click on the icon, “Add Picture” ![]() .
.
13. The Windows standard window appears for you to open files. Here select your CD-ROM or hard drive and select any picture file.
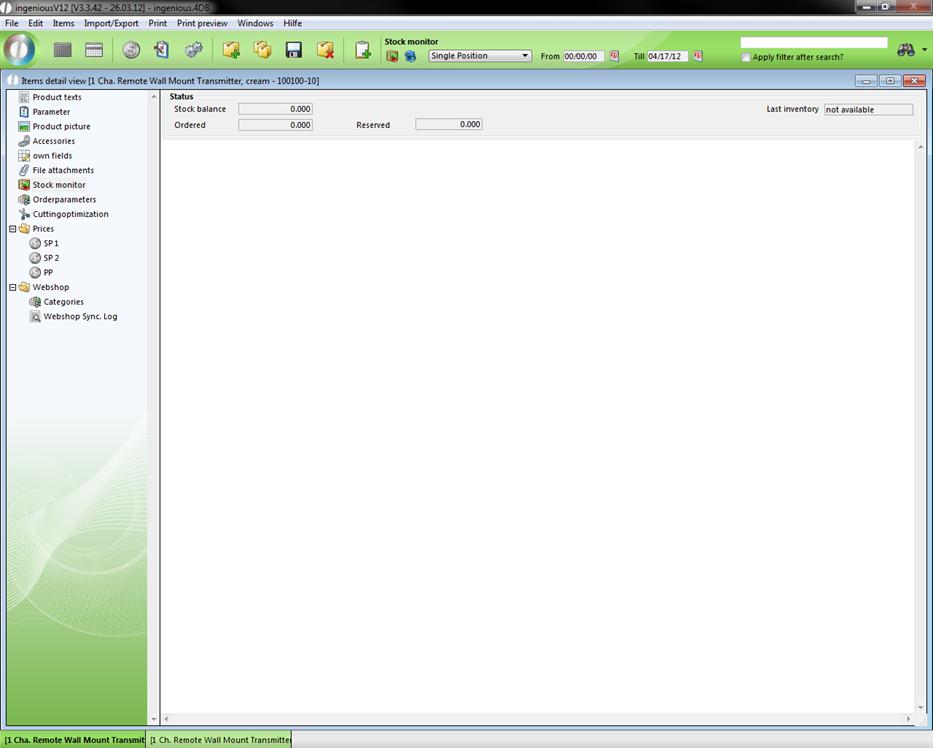
14. Switch to the column “Stock monitor”.
In this column, you have three inventory displays available in the “Status” area. One is for the actual status, one for ordered items and one for the status of the last inventory.
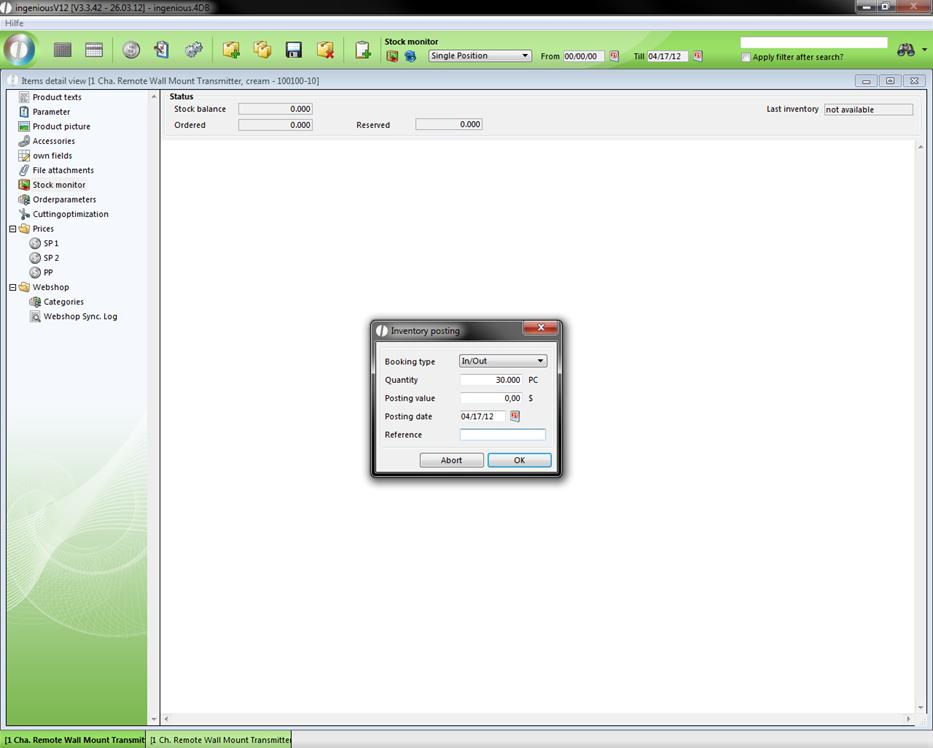
15. With the ![]() button, now enter a stock item input/output at a value of 30 and confirm the window with “OK”. You now initiated a starting inventory, without which the automatic storage management of the following column would not be possible.
button, now enter a stock item input/output at a value of 30 and confirm the window with “OK”. You now initiated a starting inventory, without which the automatic storage management of the following column would not be possible.
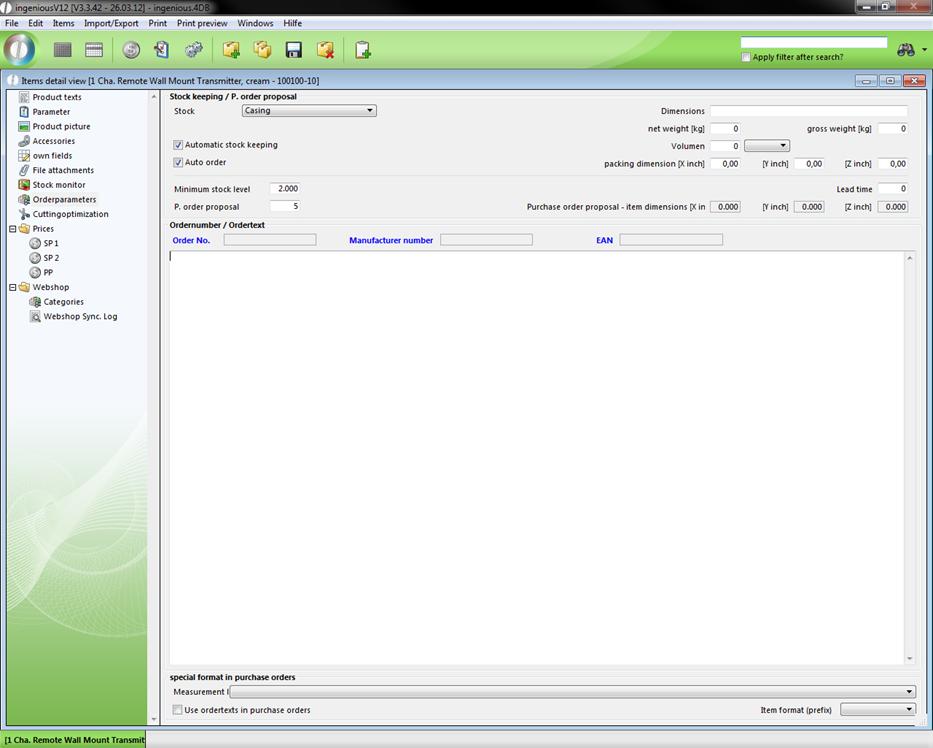
16. In the column “Order parameters”, you can select the options, “Automatic stock keeping” and “Auto order”. In this case you must still enter another minimum inventory and an order suggestion. Now select “Casing” in the “Stock” pop-up field.
17. In order to give a price to the item, first select the column “SP 1” in the “Prices” folder.

SP1 is the normal selling price or unit price of an item.
18. Mark the cell A1 and enter a SP 1of 10.20 $.
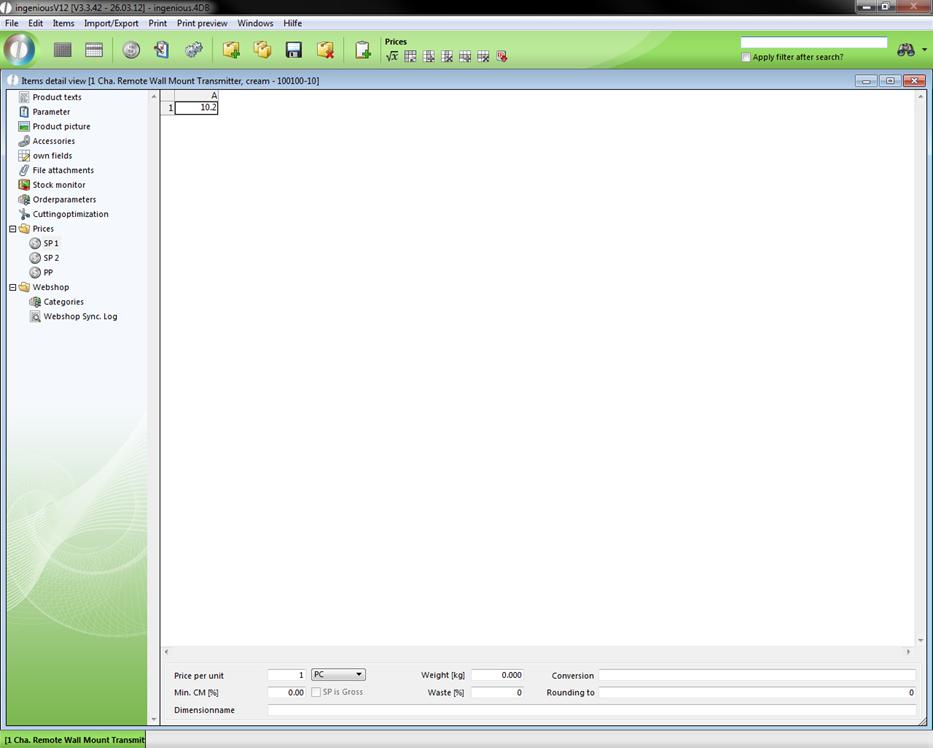
In the lower section of the detail view, you will find numerous setting possibilities.
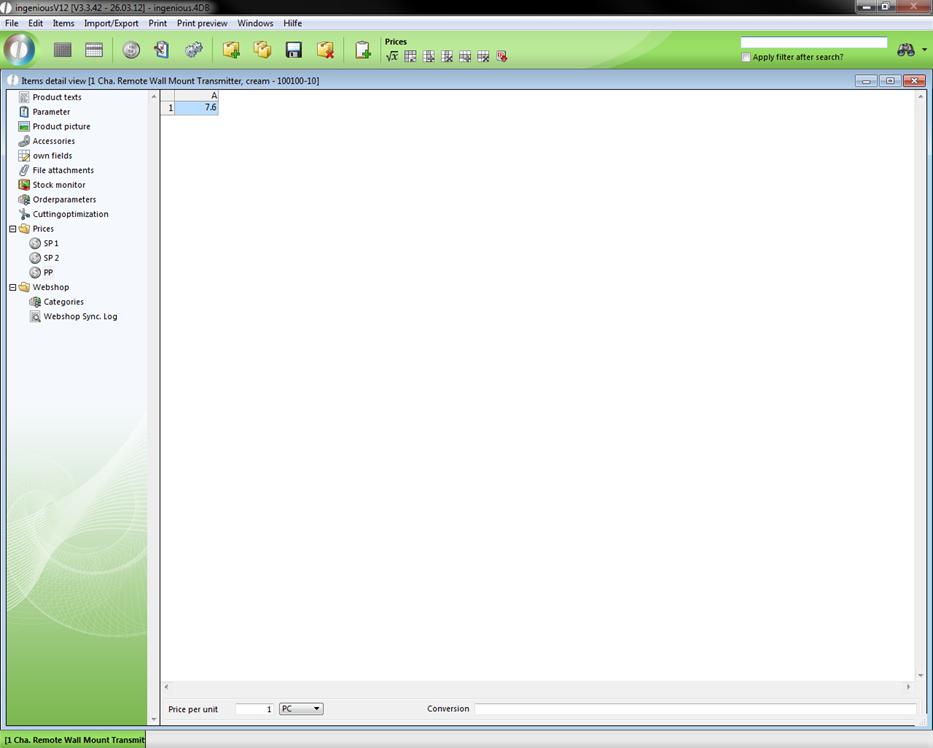
19. Switch to the PP and enter 7.60 here.
20. To conclude, click on the ![]() button to save the file.
button to save the file.
The file is created and can be changed, duplicated ![]() or deleted
or deleted ![]() at any time.
at any time.